If you want to make your own art but trying a "real" painting sounds too overwhelming, this is a nothing-to-lose place to start! All you need are some basic acrylic paints (these are water based, have no smell, and are easy to clean up), a thrift store canvas with any picture you like on it, and a few brushes. Optional--you can buy acrylic gel medium to mix with your paints to thicken them if you like that look. (Tip: Both framed and unframed canvases work. Framed is awesome because when you're done you have a cool framed painting!)
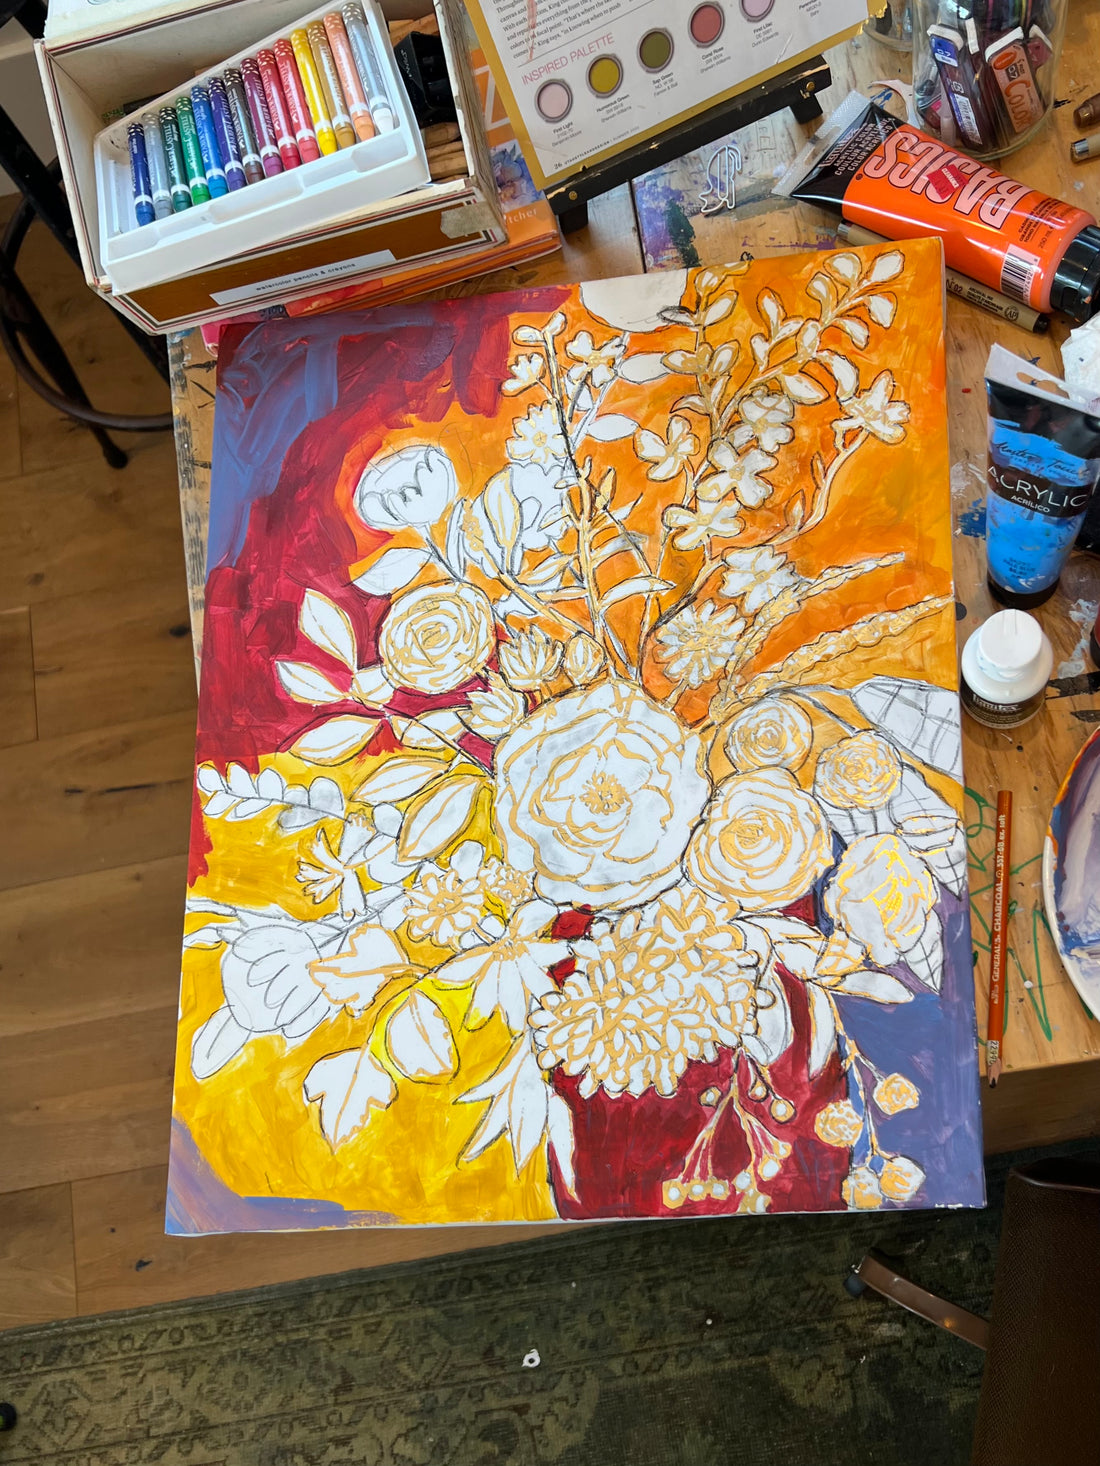
Here's a photo of a floral design on canvas I found thrifting for $5--I loved this one because sketching flowers is super hard but with this I could just jump right in to the fun part--painting!

I started by experimenting with a bold background, mixing some yellows and oranges. Making a base layer of bold colors but letting them show through the added layers is a supercool technique, so that's what I did.

I decided to draw in a "vase" and a few leaves to make it look more like a bouquet. This is the beauty of painting over a picture on a canvas--you can put whatever color you want over what already exists, as well as remove or add details that suit you.

I wasn't sure where to go with it from here. My kids call this "art block". So I went searching for inspiration and found a photo in a magazine article titled The Idea of a Flower featuring Utah artist Emily Fox King. Her amazing bold brush strokes and colors inspired me!! I tried to imitate her thick and textury style. I also added in a "table top" at the bottom so it looked like the vase was set down on something. When I finished I was so excited with how it looked! If you look close you can see some of the bold first layer colors under the pale finished background.
 See the article I propped up next to my painting to inspire me?
Here's another example of using this technique of painting over a canvas :
I picked this up at a thrift store because I liked the farm scene--but I didn't love the dated frame or the big trees blocking the view. No worries, I knew I could fix that!
So first I painted over the big trees, adding more sky and farm houses.

I kept layering on paint and playing around and trying different things untilI I liked how it looked--which took a few hours lots of experimenting. I used other paintings of farm scenes to help me fill in what had been blocked by the trees. When I was finished II painted the frame black--and like magic it didn't look so 1980s any more!

For a final detail I used a little tube of gold "rub n' buff" to easily add gold to the trim.
A few tips:
#1 Start simple! If it's your first time trying this you could start with something really simple. I went a bit complicated on what I tried and I do love how it turned out but it took me a long time to get a finished product I felt was frameworthy :).
#2 You don't have to paint over the whole picture on the canvas. What if you like everything except the color of one of the flowers? Then just paint that flower. You get the idea...
#3 For a more "finished" look you can use your acrylic gel medium to paint a clear finish coat over the whole thing. I don't know why but that seems to take it up a notch in coolness.
#4 You have nothing to lose! You may spend a few dollars on a canvas and hate how it turns out. If so you can return it to the thrift store. Or repaint over it as many times as you like. Or let your kids paint it for fun.